Reversible Double Mittens


Diagram 1
Measure your hand for a custom fit.
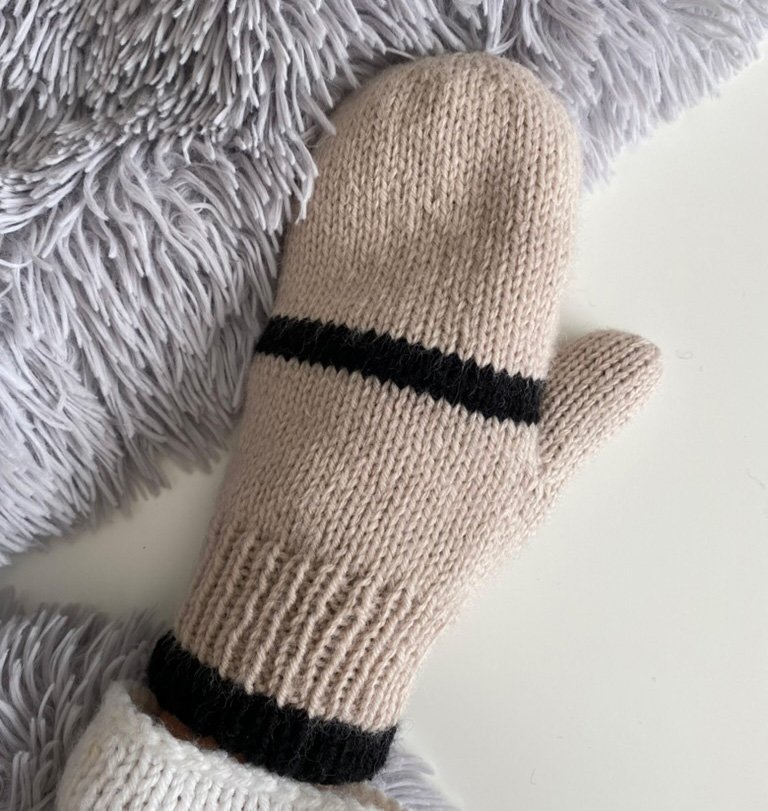
I decided to add a stripe!

This is what the mitt looks like once you’re done. Depending on what color you feel like wearing, you just slip the other color to the inside.
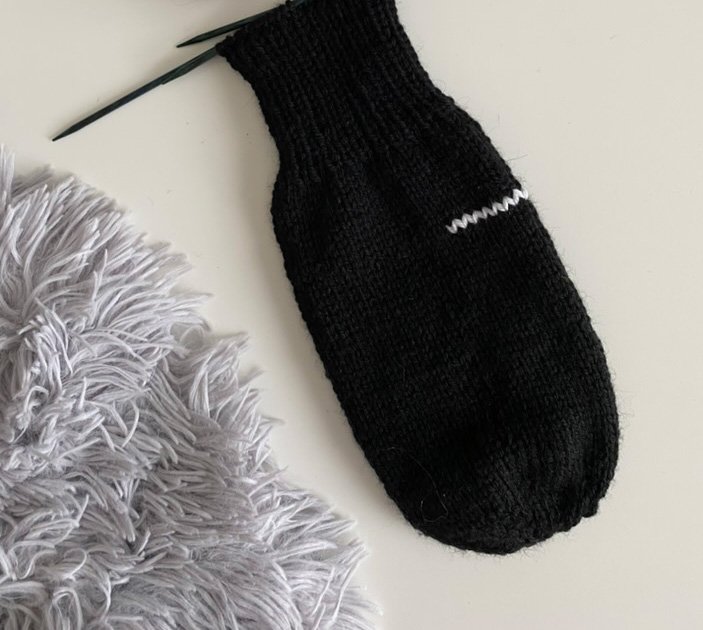
Scarp yarn for the Afterthought Thumb.

Diagram 2
Small DPNs are holding the right legs of stitches below and above the scrap yarn.

Diagram 3
Always a good idea to make sure things fit.
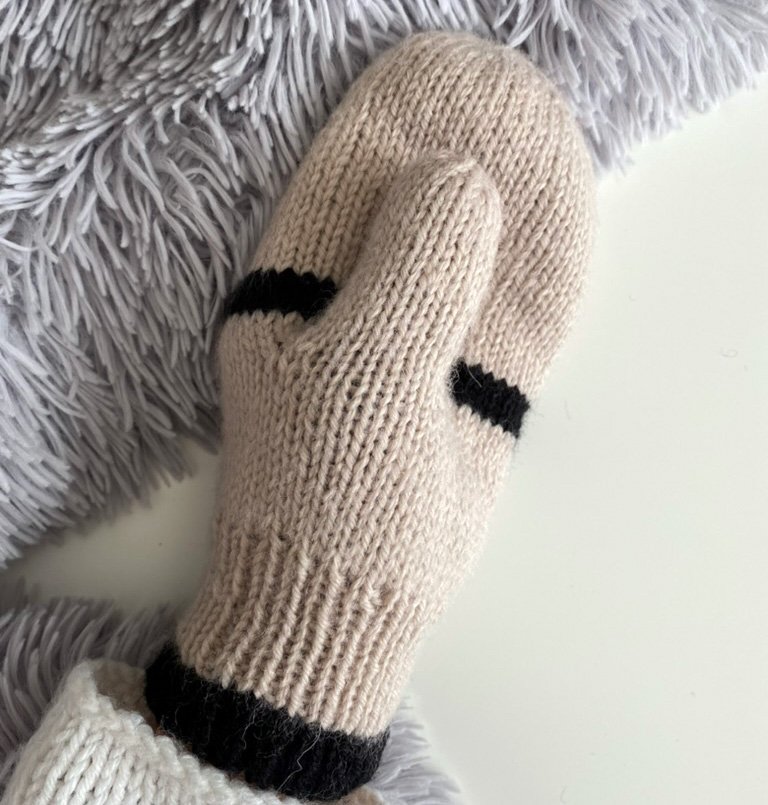
Diagram 4
This is what the mitt looks like once you slip one inside the other. I love the Afterthought Thumb!

Right Swirl vs Left Swirl
You can customize the tip/ends of your mittens by choosing which direction you would like your SWIRL. You could have both mittens swirling in the same direction or in the opposite directions.
DECREASES:
Right Spiral - decreases are worked at the end of each section.
Left Spiral - decreases are worked at the beginning of each section.
Examples of decreases - K2tog, SSK, K2tog-L.
INCREASES:
Right Spiral - increases are worked at the beginning of each section.
Left Spiral - increases are worked at the end of each section.
Examples of increases - M1L, M1R, KFB, RLI, LLI.

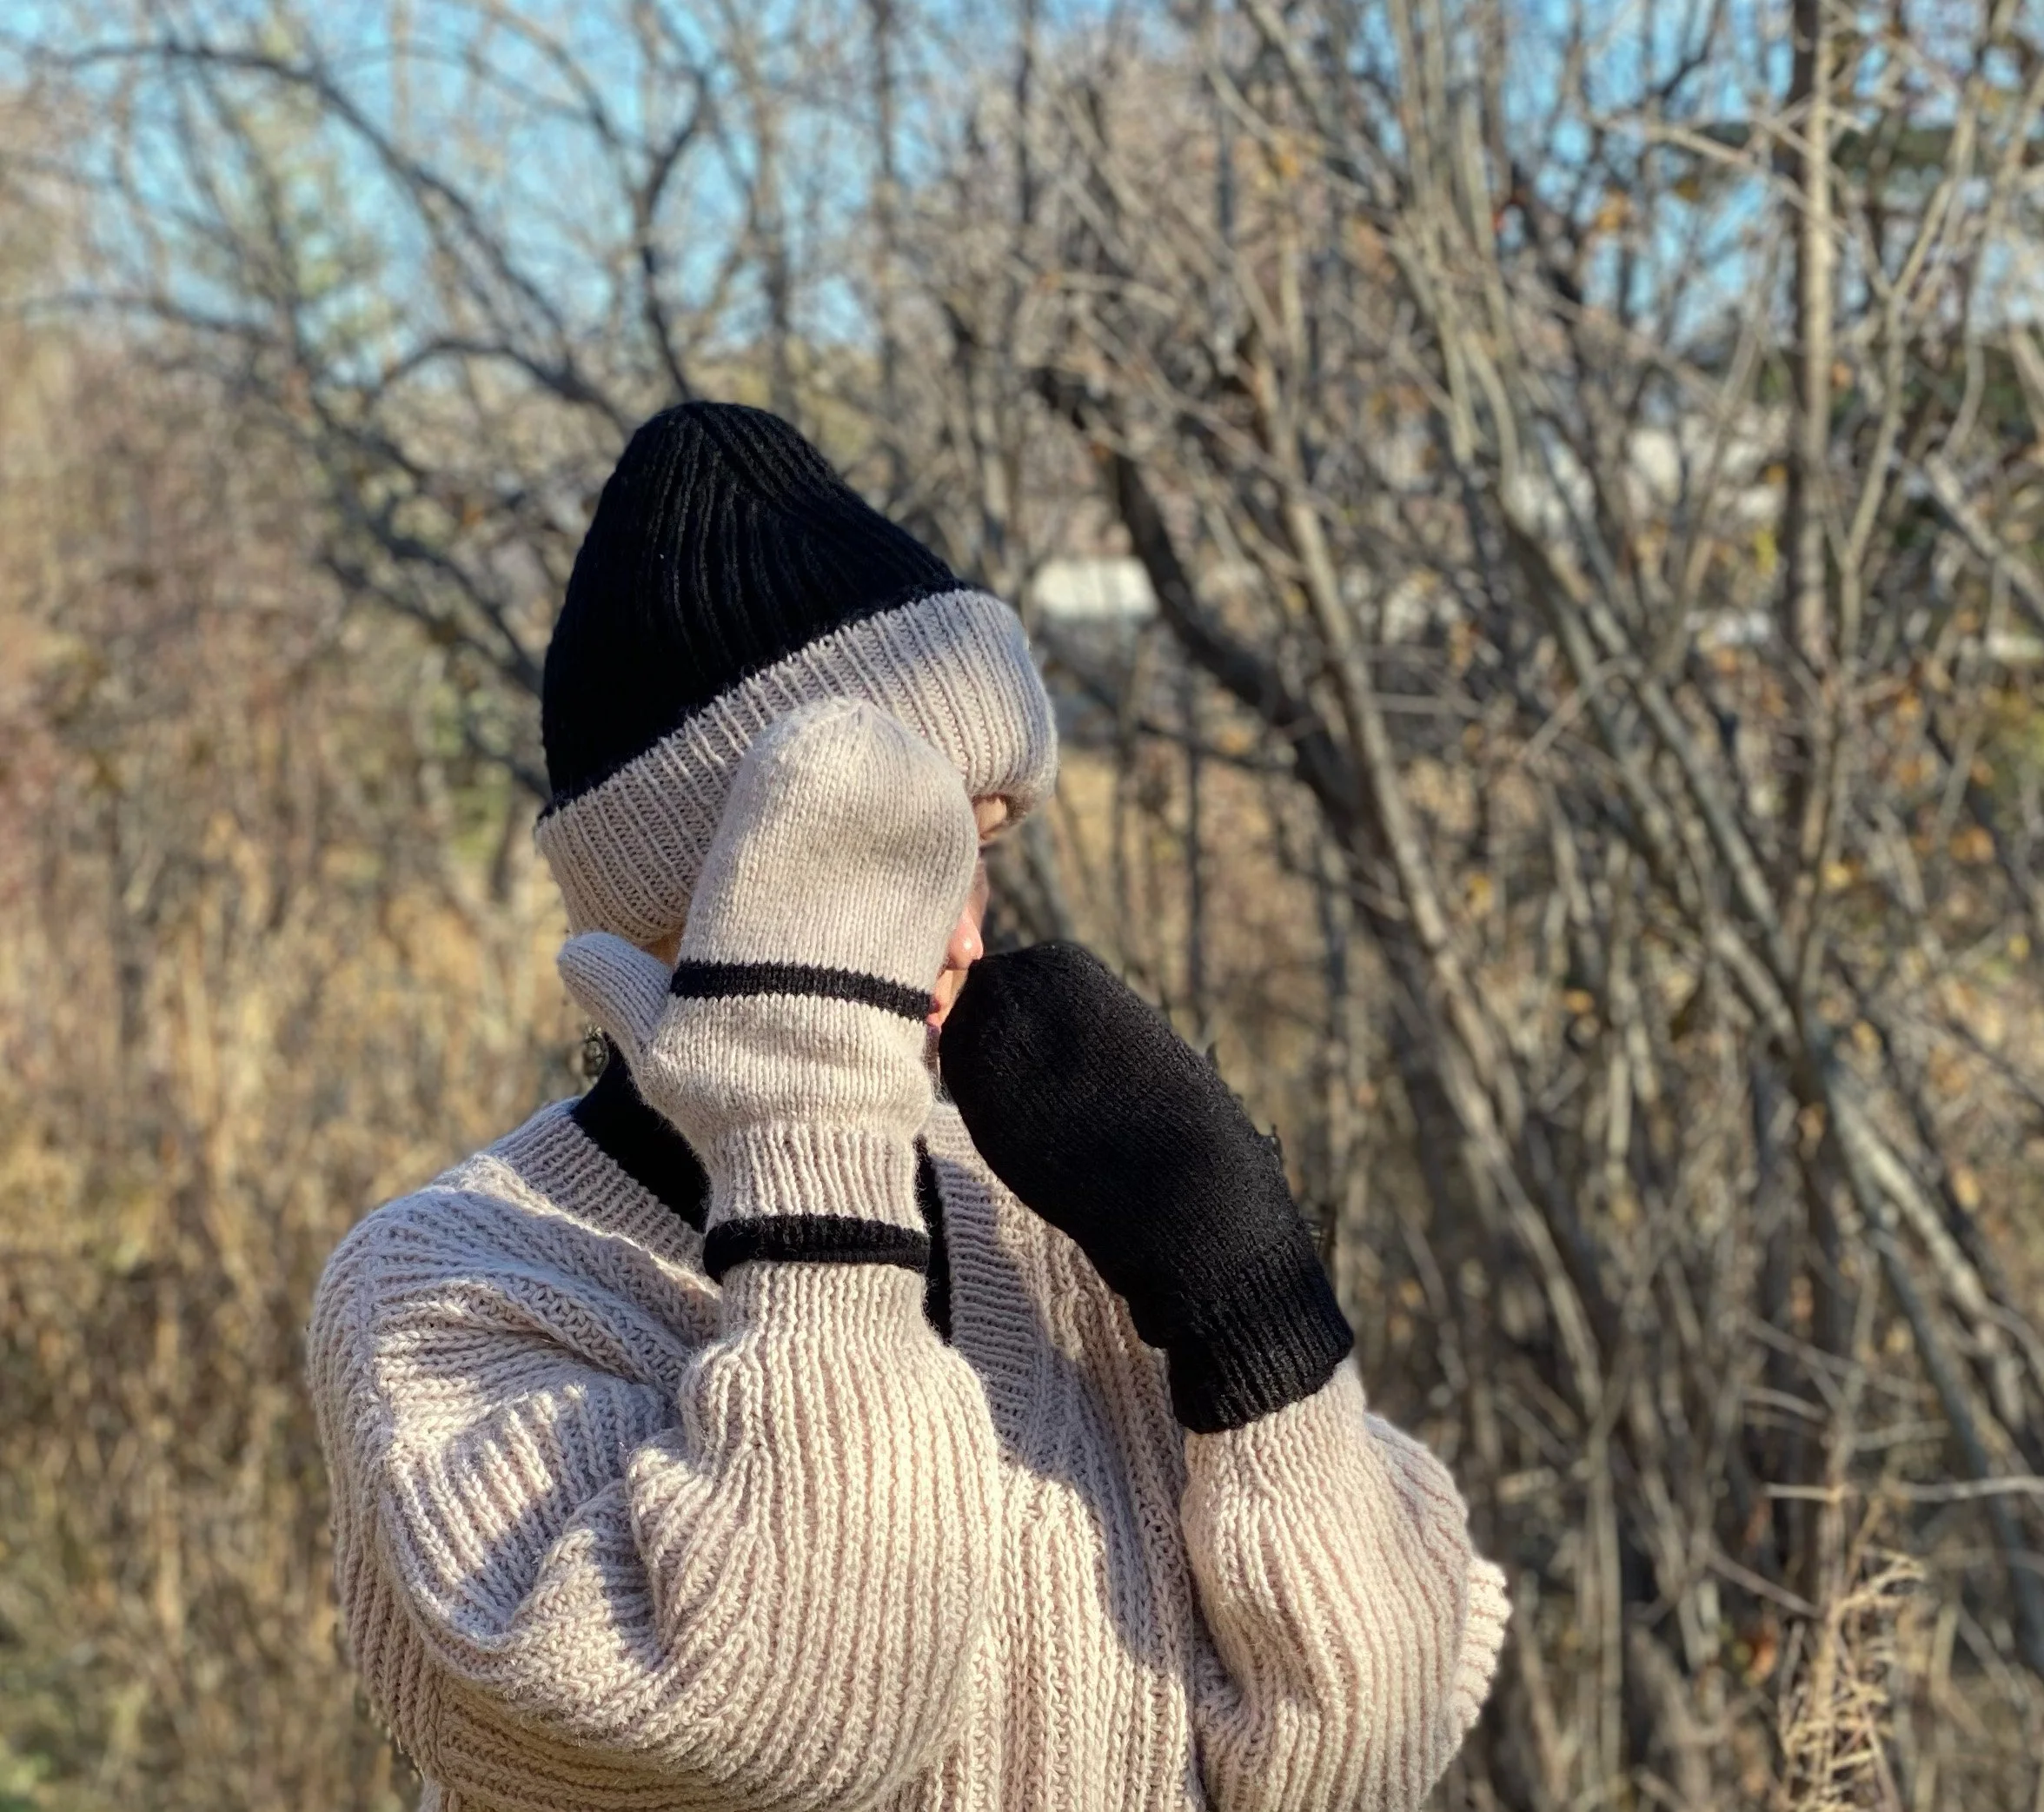
I love having the option of 2 different colored mitts with only one pair of mittens.
You know what they say ”Cold hands, warm heart”
If there’s one thing I dislike about winter it’s having cold hands, so I decided I should make a pair of double thick mittens, to go with my warm heart! I also thought they would match my reversible Double Double Beanie and V-neck Pullover, LOL!
I would like to preface this by saying this pattern has not been tested, however I have made a fews pairs and they fit great!
The Double Mittens
These double mittens have 2 layers of fabric to keep those hands and fingers warm. Layer 1 (the first mitt) is worked in one color and layer 2 (second mitt) is worked in a different color. The mitts are worked in one piece from tip to tip, with an easy Afterthought Thumb. Once completed, this fun design has you slip one mitt inside the other resulting in a reversible mitt. Let’s not forget about the classic 1 x 1 ribbing that hugs the wrists just right and also lets you add a few fun stripes. This pattern can be worked on DPNs or using the Magic Loop Technique.
As always, I suggest reading through the pattern before you begin.
Here are a few tips for you:
These mittens can be customized by working additional increase rounds.
Measure the hand circumference by placing tape measure around the palm of your dominant hand, which is just below the knuckles (excluding the thumb).
The Pinhole Cast On is worked with a crochet hook but feel free to use whatever method works best for you. Plenty of tutorials out there.
Ends are woven in the first half of the mitten before you proceed to the second half. The ends will be inside your mitten once the second mitt is finished, never to be seen again.
Afterthought Thumb can be made larger by increasing the number of stitches placed on scrap yarn.
Keep track of how many rounds you work to make sure you knit all sections the same size for both halves.
Things you should know!
ABBREVIATIONS
K - Knit
P - Purl
St(s) - stitch(es)
PHCO - Pinhole Cast On
PU - pick up stitch
RLI - right lifted increase
KFB - knit into the front and back of same stitch
K2tog - knit 2 stitches together (right leaning decrease)
SSK - slip slip knit (left leaning decrease) Slip 1 stitch knitwise, slip 2nd stitch purlwise, return to left needle and knit 2 together through the back loops.
Skill level:
Intermediate
Gauge: 20 sts x 28 rows = 4”x 4” / 10cm x 10cm (worked in Stockinette Stitch) with 4mm / US 6 needles
Measurements: (See Diagram 1 on the left to see how and where to measure your dominant hand)
Sizes: Small, Medium and Large
Hand Circumference: 7” ( 9”, 11”)
Width Flat - 3.5” (4.5”, 5.5”)
Hand Length Flat - 5.5” (7.5”, 9”) (cuff not included in this measurement)
Materials Required:
Yarn:
Lion Brand Yarns - Wool Ease
Weight: Worsted / medium CYC #4
Yardage per skein: 197 yds / 180 m - 85g / 3 oz
Skein(s) required: 2 (one of each color)
Total Yardage per color:
Child: 110 yds /100m - 58g / 2oz.
Adult Ladies: 143 yds / 130m - 62g / 2.2oz
Adult Men: 184 yds / 168m - 80g / 2.8oz.
Needles
4 mm/ US 6 DPN needles (or use circular needles for Magic Loop Technique)
4 mm crochet hook (for Pinhole Cast On - crochet version)
5 - 3.25 mm / US 3 DPN
Notions
Darning needle
Scissors
Stitch markers (if using Magic Loop Technique)
Scrap yarn for Afterthought Thumb stitches
Let’s get started!
Using 4mm / US 6 DPNs
With Color A, PHCO 8 sts. (all sizes)
Divide sts on 3 needles as follows: needle 1 (2 sts) needle 2 (2 sts) and needle 3 (4 sts)
You will now work in rounds with a 4th needle.
Round 1: K all sts. (8 sts)
Round 2: RLI all sts. (16 sts)
Round 3: K all sts.
Round 4: *K1, RLI*, repeat * - * around. (24 sts)
Round 5: K all sts.
Round 6: *K2, RLI*, repeat * - * around. (32 sts)
Round 7: K all sts.
Round 8: *K3, RLI*, repeat * - * around. (40 sts)
Size Small increases are complete - go to Work in Stockinette
Round 9: K all sts.
Round 10: *K4, RLI* repeat * - * around. (48 sts)
Size Medium increases are complete - go to Work in Stockinette
Round 11: K all sts.
Round 12: *K5, RLI* repeat * - * around. (56 sts)
Size Large increases complete - go to Work in Stockinette
NOTE: If a larger size is required, work additional increase rounds.
Work in Stockinette: Until the mitt measures 4” (5.5”, 6.5”) from cast on.
Make note of how many rounds you worked once the increases are complete because you will need to work the same amount for the other half of the mitten.
Take this time to weave in the PHCO end.
Stitches for Afterthought Thumb: (worked with scrap yarn)
(Left Hand)
Needle 1: With scrap yarn K8 (9, 10) sts, (adjust if you need a bigger thumb hole).
Slip those 8 (9, 10) sts you just knit back to the left needle.
Those are your Afterthought Thumb stitches that will be worked later.
Using Color A, (which is by needle 1) you will now continue to work another 1.5” (2.0”, 2.5”) in Stockinette.
Cuff: Using 3.25mm / US 3 DPNs
Round 1: *K1, P1*, repeat * - *.
Work in rib pattern until the cuff measures 2.5” (3”, 3.5”).
Do Not Bind Off, cut yarn, leave the live stitches on your DPNs while you work the Afterthought Thumb.
Thumb:
Using 2 - 3.25mm / US 3 DPNs, pick up stitches as follows:
With first DPN, PU right leg on each 8 (9, 10) sts below the scrap yarn. Repeat with second DPN, PU right leg on each 8 (9, 10) sts above the scrap yarn. (16, 18, 20 legs) total. Those 2 DPNs will have live stitches on them once you remove the scrap yarn. Remove the scrap yarn by gently picking the yarn out between the 2 DPNs.
You might like to see what it looks like so far… so I’ve included a few pictures for you! Diagram 2 shows what the stitches look like when PU on the 3.25mm / US 3 DPNs. Diagram 3 shows my thumb once I remove the scrap yarn!! Yippie!
Using Color A, you will pick up and knit the thumb stitches as follows:
Starting at right edge (lower small DPN).
With 4mm / US 6 DPN, PU 1 st at corner, K8 (9, 10) sts, PU 1 st at corner, (10, 11, 12 sts), with a second 4mm / US 6 DPN, PU 1 st at corner continue K8 (9, 10), PU 1st at corner. (10, 11, 12 sts). You now have a total of 20 (22, 24) sts on your 2 DPN’s.
Decrease Round: (This round decreases the additional sts picked up at the corners)
Divide stitches on 3 DPNs and work as follows:
Round 1: K2tog, K6 (7, 8) sts, SSK, K2tog, K6 (7, 8) sts, SSK. 16 (18, 20) sts total.
Round 2: K all sts.
Repeat Round 2: Until thumb measures 2.5” (3”, 3.5”).
At this point it would be a great idea to try on the mitt to see how it fits and adjust thumb length if needed.
Decrease Round: (tip of thumb)
Round 1: *K2tog* repeat around. 8 (9, 10) sts.
Round 2: K all sts.
Cut yarn, place yarn tail on darning needle and secure by going through the 8 (9,10) live stitches, pull yarn to cinch. Insert needle into the tip of thumb to the inside. Turn mitt inside out being careful of the live stitches on your DPNs, weave in ends.
Thumb is now complete. Make sure the ends are woven in.
Return to work the cuff stitches.
Woohoo… the first half of your mitt is done! It’s time to change yarn color and make the second half of your mitt.
Cuff: Using 3.25mm /US 3 DPNs and COLOR B
Round 1: K all sts.
Round 2: *K1, P1,* repeat * - * around.
Work in rib pattern until the cuff measures 2.5” (3”, 3.5”).
Change to 4mm / US 6 DPNs
Work in Stockinette: Until the mitt measures 1.5” (2.0”, 2.5”) from the start of Color B.
Stitches for Afterthought Thumb: (worked with scrap yarn)
(Left Hand)
Needle 1: With scrap yarn K8 (9, 10) sts. (adjust if you need a bigger thumb hole)
Slip those 8 (9, 10) sts you just knit back to the left needle.
Those are your Afterthought Thumb stitches that will be worked later.
Using Color B, which is by needle 1, you will now continue to work another 1.5” (2.0”, 2.5”) in Stockinette before working the thumb.
PLACE YOUR PALM STITCHES ON SCRAP YARN OR 3.25mm / US 3 DPNs while you work the thumb with your 4mm needles.
Thumb:
Using 2 - 3.25mm / US 3 DPNs, pick up stitches as follows:
With first DPN, PU right leg on each 8 (9, 10) sts below the scrap yarn. Repeat with second DPN, PU right leg on each 8 (9, 10) sts above the scrap yarn. (16, 18, 20 legs) total. Those 2 DPNs will have live stitches on them once you remove the scrap yarn. Remove the scrap yarn by gently picking the yarn out between the 2 DPNs.
Using Color B, you will pick up and knit the thumb stitches as follows:
Starting at right edge (lower small DPN)
With 4mm / US 6 DPN, PU 1 st at corner, K8 (9, 10) sts, PU 1 st at corner, (10, 11, 12 sts), with a second 4mm / US 6 DPN, PU 1 st at corner continue K8 (9, 10), PU 1st at corner. (10, 11, 12 sts). You now have a total of 20 (22, 24) sts on your 2 needles.
Decrease Round: (This round decreases the additional sts picked up at the corners)
Divide stitches on 3 DPNs and work as follows:
Round 1: K2tog, K6 (7, 8) sts, SSK, K2tog, K6 (7, 8) sts, SSK. 16 (18, 20) sts total.
Round 2: K all sts.
Repeat Round 2: Until thumb measures 2” (2.75”, 3.5”).
Decrease Round: (tip of thumb)
Round 1: *K2tog* repeat * - * around. 8 (9, 10) sts.
Cut yarn, place yarn tail on darning needle and secure by going through the 8 (9, 10) live stitches, pull yarn to cinch. Insert needle into the tip of thumb to the inside. Turn mitt inside out being careful of the live stitches on your DPNs, weave in ends.
Thumb is complete. Make sure the ends are woven in.
Return the Stitches from your scrap yarn or spare DPNs to the 4mm / US 6 DPNs.
Continue working in Stockinette until the mitt measures approx. 3” (4.5”, 5.5”) or the same number of rounds worked for your first mitt.
Size Large only:
Round 1: *K5, SSK*, repeat * - *. (48 sts)
Round 2: K all sts.
Size Medium and Large only:
Round 3: *K4, SSK*, repeat * - *. (40 sts)
Round 4: K all sts.
All sizes:
Round 5: *K3, SSK*, repeat * - *. (32 sts)
Round 6: K all sts.
Round 7: *K2, SSK*, repeat * - *. (24 sts)
Round 8: K all sts.
Round 9: *K1, SSK*, repeat * - *. (16 sts)
Round 10: K all sts.
Round 11: *SSK*, repeat * - *. (8 sts)
Round 12: K all sts.
Cut yarn.
Place the yarn tail on a darning needle and secure by going through all live sts, pull yarn to cinch. Make a knot in the last stitch to secure. Insert the needle through the top of the mitt and back out to the outside. Weave tail down the ridges/legs and back up the adjacent ridges/legs. Poke the darning needle into the mitt, and back out a different stitch, pull on the yarn and cut yarn. The yarn tail should now be inside your mitt.
Check Diagram 4 to see what the mitt looks like once you slide one inside the other.
Wowza! One down and one to go!
Second Mitt (Right Hand)
Repeat the Instructions for the First Mitt, however, begin with Color B.
I tell you this is magic, start with the other color and you get a right handed mitt.
Some people might already know this… but I found this out by chance. I was trying the first mitt on and when I reversed the color, it fit on the opposite hand.
I was so excited to not have to calculate stitches for the other hand LOL!!
OK.. what are you waiting for get the other mitt done!!
If you like reversible and doubled Winter-wear you should check out my pattern for the DOUBLE DOUBLE BEANIE
I Hope you enjoy making these mitts and they keep your hands nice and warm.
Please tag me on Instagram using the hashtag #lo_rain_knitwear
I would love to see your mittens!!